I’m moving beyond simple circuits with a few passive components to devices with more complex capabilities, and the limits of the Arduino model are becoming very apparent. Lo these many years ago, the first computer job I got paid for was designing and building a real-time control and data acquisition system; it was the most fun I had in my whole career in IT. Now that I’m returning to that world I want the things I had then: multiple processors, interrupts, and a real-time operating system.
Enter 32-bit ARM processors, specifically the STM32 family. Great stuff! And the development tools! It is pure pleasure to debug with full visibility into the state of both the processor and your code, instead of having your code halt, flash lights, or twiddle pins to try to get an idea of what’s going on. And FreeRTOS runs circles around the roll-your-own OS I wrote 40 years ago.
Obviously, through-hole components are out of the question in this world, so it was time to invest in a reflow oven. After reading about all the challenges of cheap imported ovens, I decided to go the toaster oven route. A little research led me to Whizoo Controleo3 (https://www.whizoo.com/controleo3) kit for converting a toaster oven into a very capable reflow oven.
I’m not going to do a complete, step-by-step documentation of my build; the build instructions on the Whizoo site are some of the best kit instructions I’ve used. I will post a few pictures and some video of the final device melting solder paste, though. Proud papa, you know…
The kit came neatly packed in a sturdy box with everything required except the toaster oven. The oven used in the build instructions was no longer available, but I found a very similar oven from the same manufacturer. The kit even included a Band-Aid! The designer clearly understands that we always leave a little bit of ourselves on every project.
The first step is to remove everything you aren’t going to use (the toaster oven controls) and seal all the cracks with red RTV.

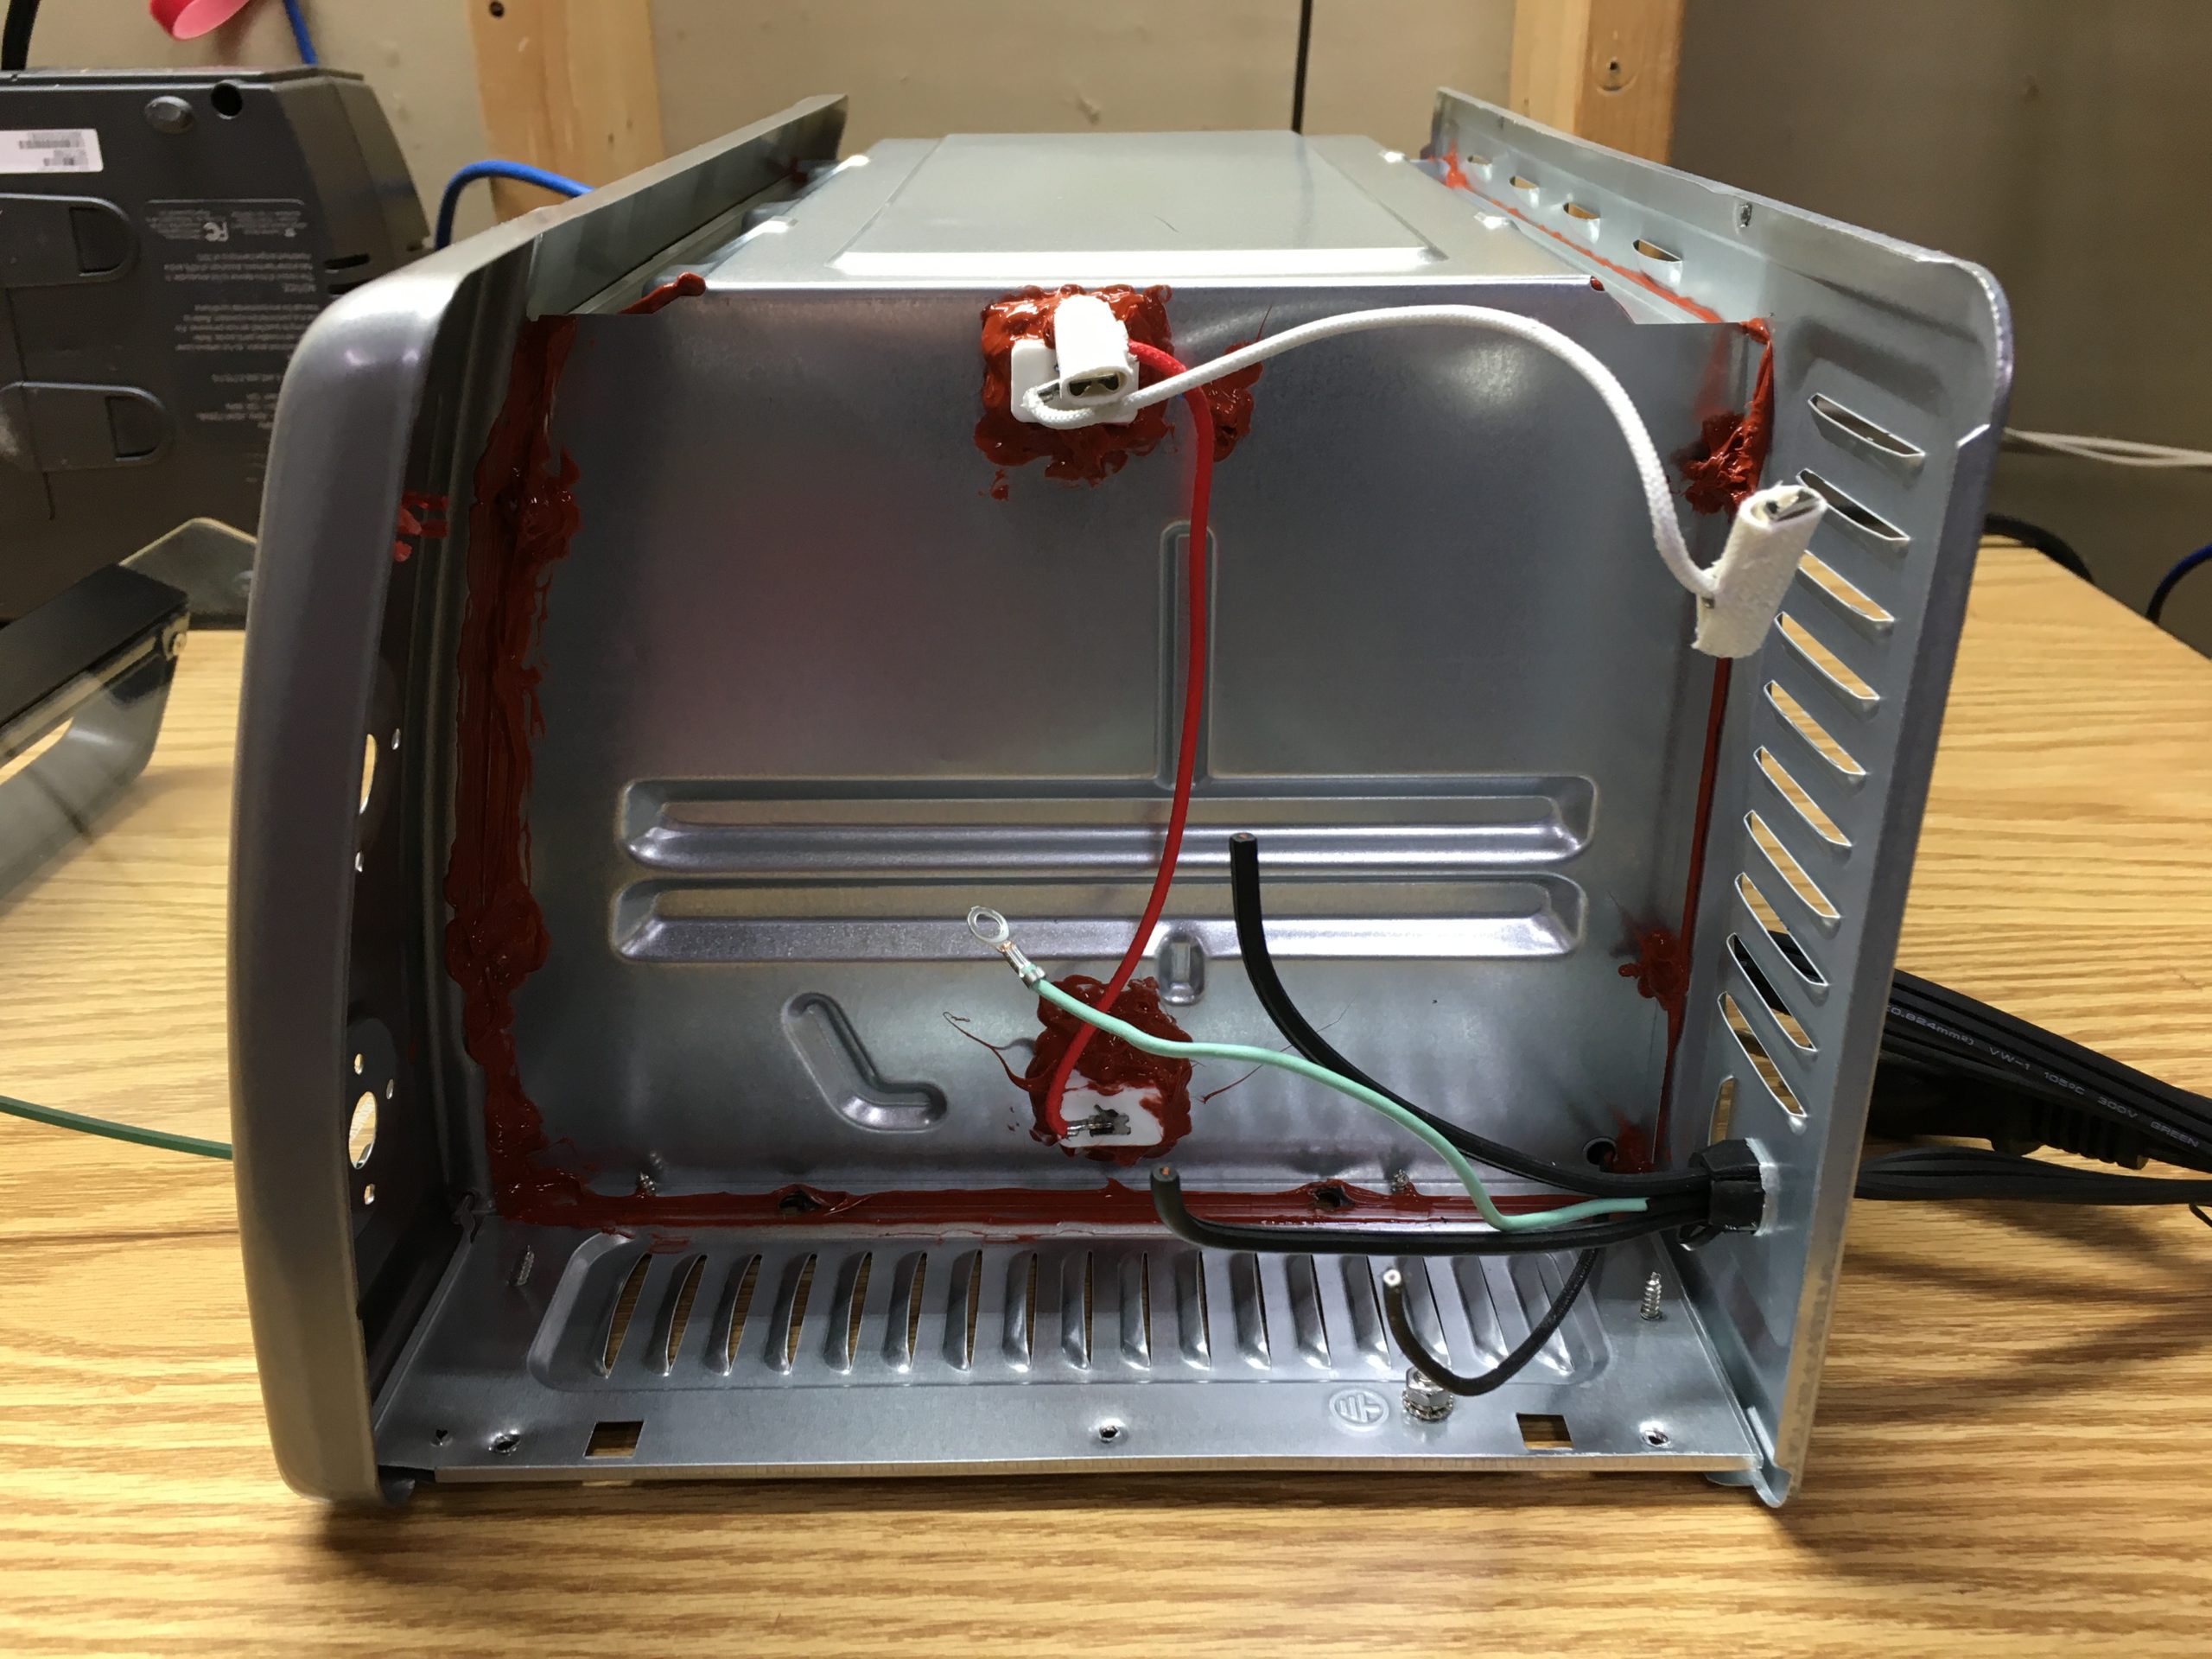
Metalwork, the bane of my existence! I managed to make it look like the picture, and no blood!
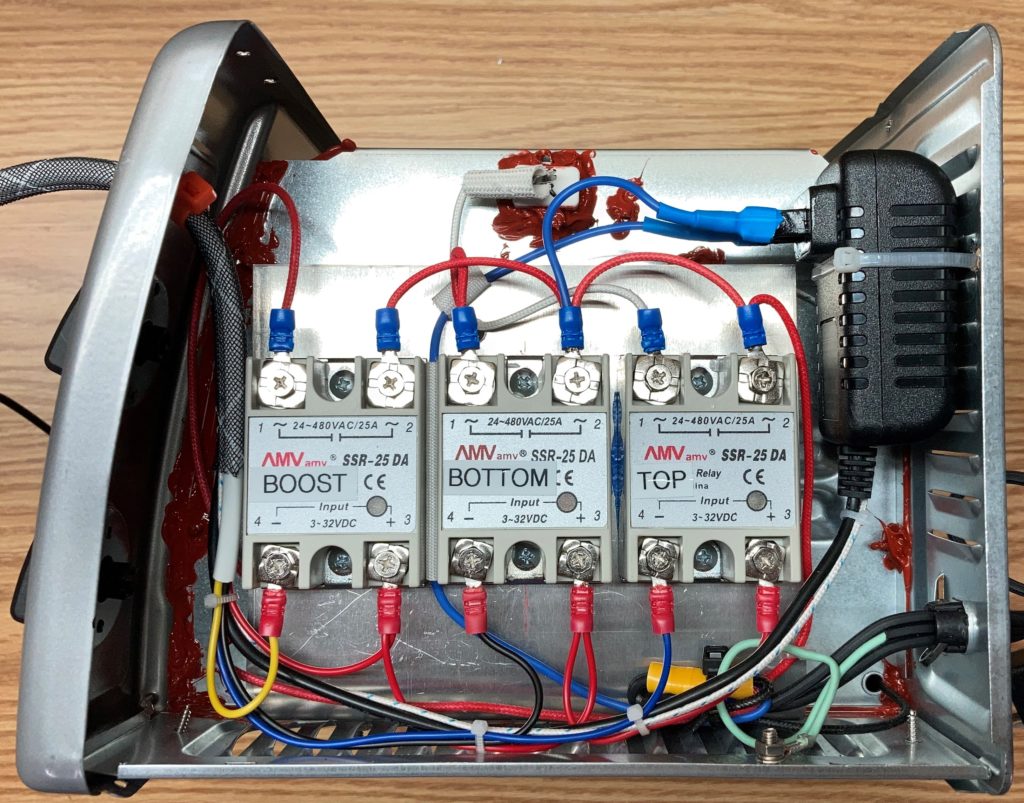
12 April 2021: Things came together pretty well, neater than most of my projects involving project packaging. Either I’m getting better at it or just got lucky.
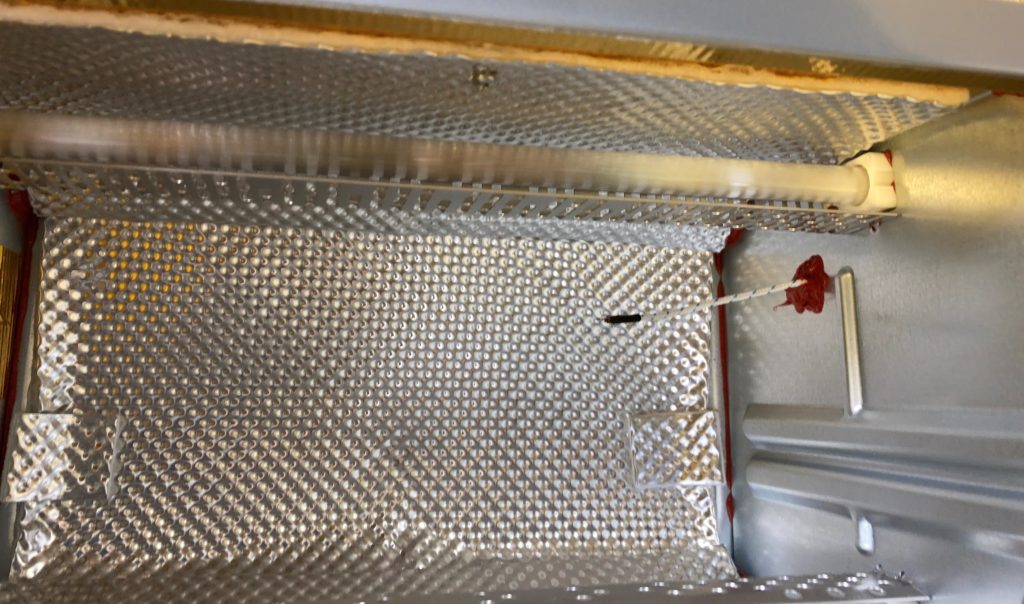
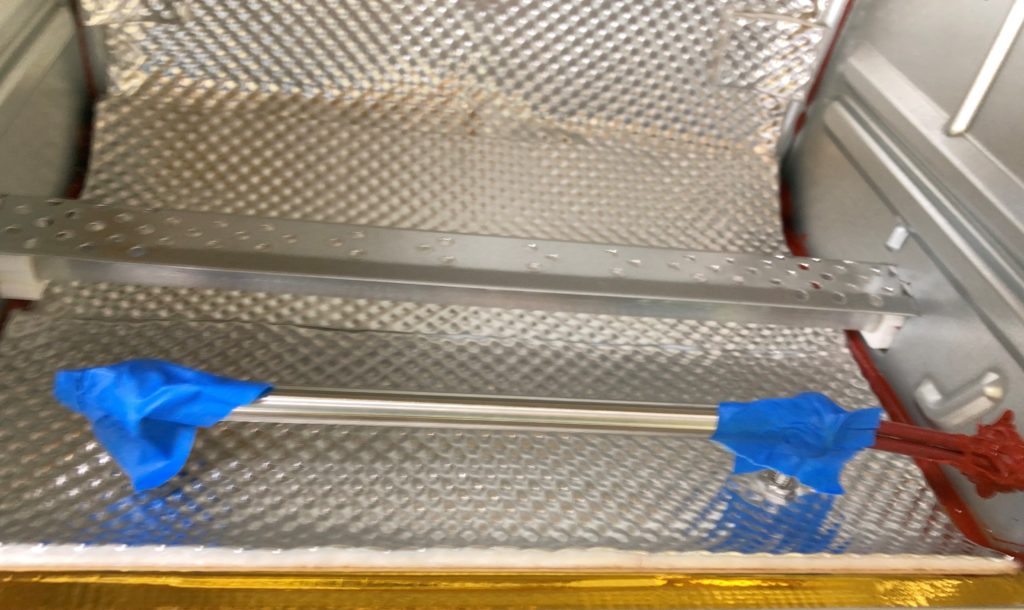
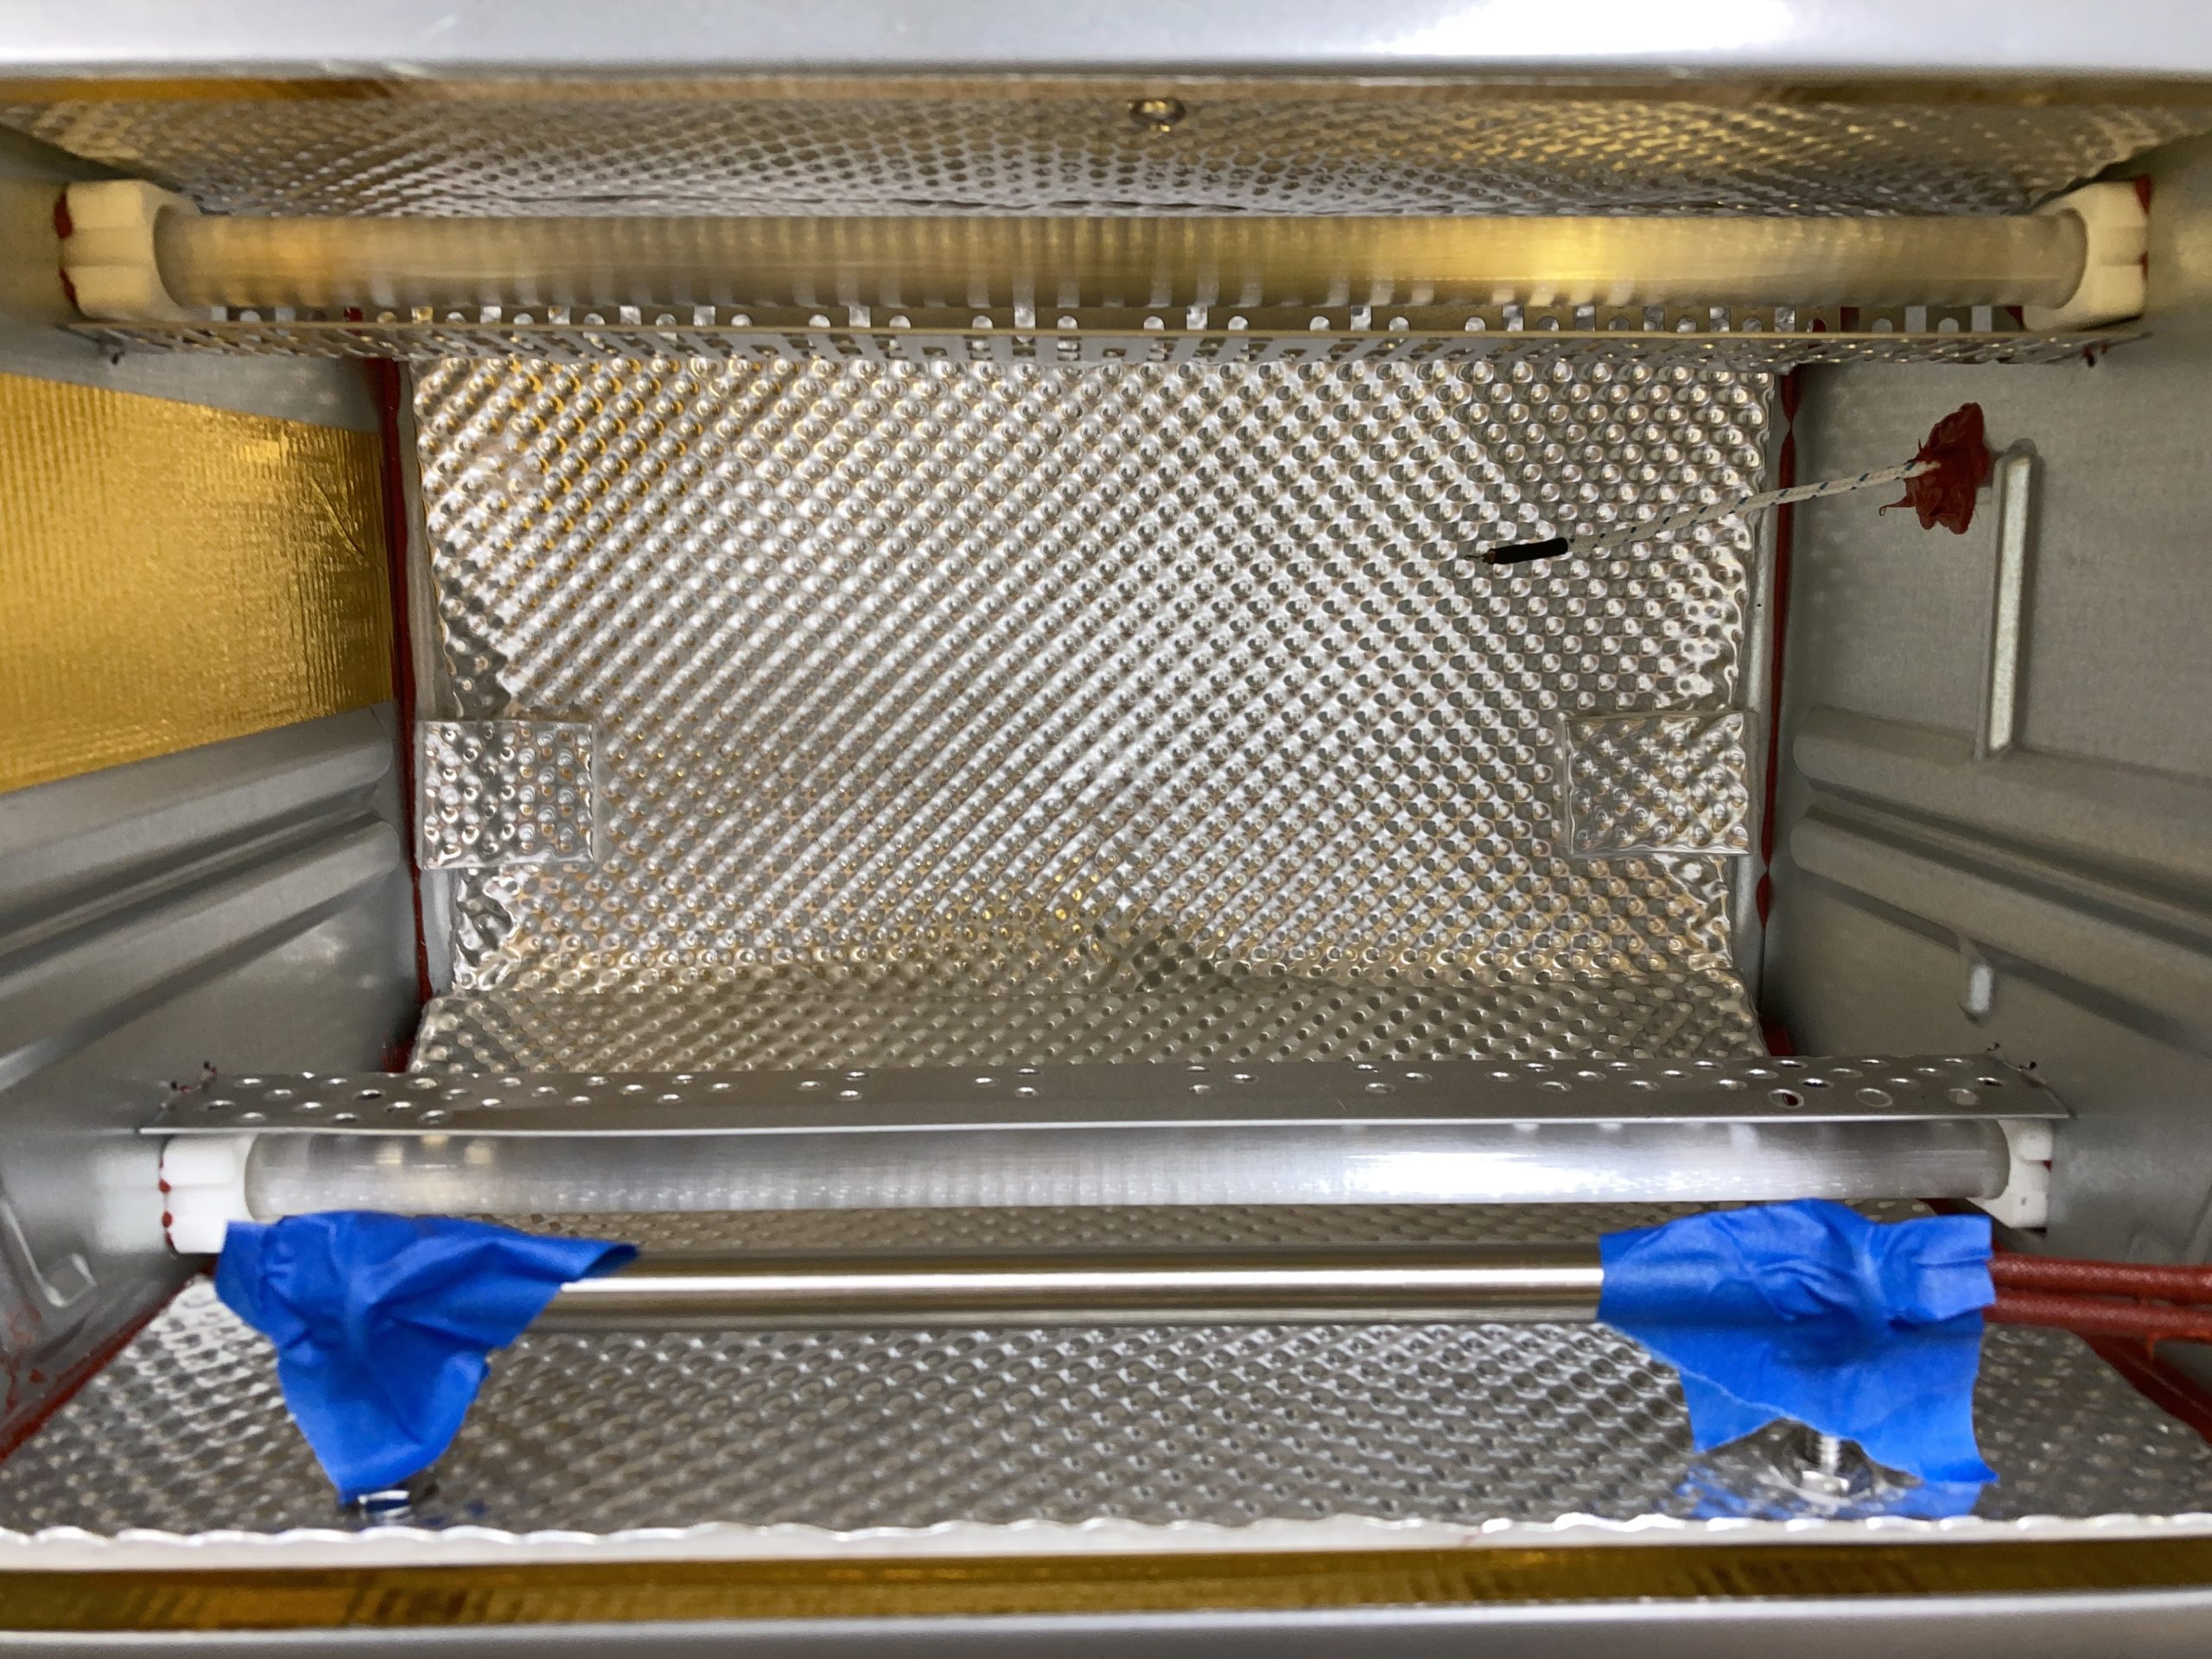
My insulation isn’t nearly as pretty as the one in the build instructions. My oven had a very deep bulge in the back, presumably to allow larger items to be cooked; that made it very difficult to get the Shield installed flat. The heating elements in my oven were too close to the top and bottom to slip the Shield between, so I had to cut the top and bottom pieces in half and install them separately. I’m hoping that since the cut is right next to the heating element it won’t change the conduction significantly.
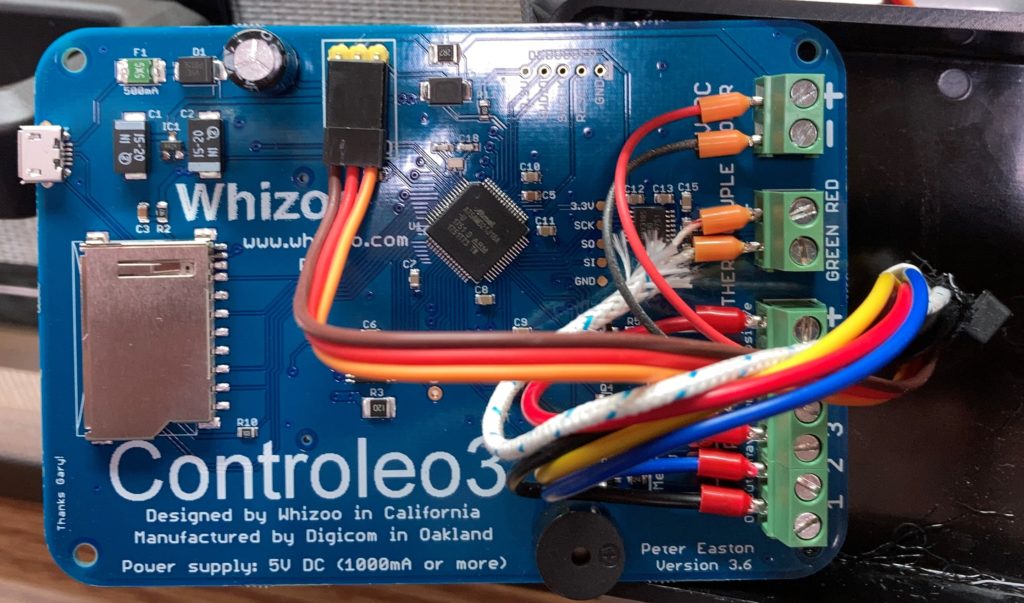
I love these ferrules for connecting to screw terminal strips. They produce a much more robust connection, and they look cool, too.
And it lives!
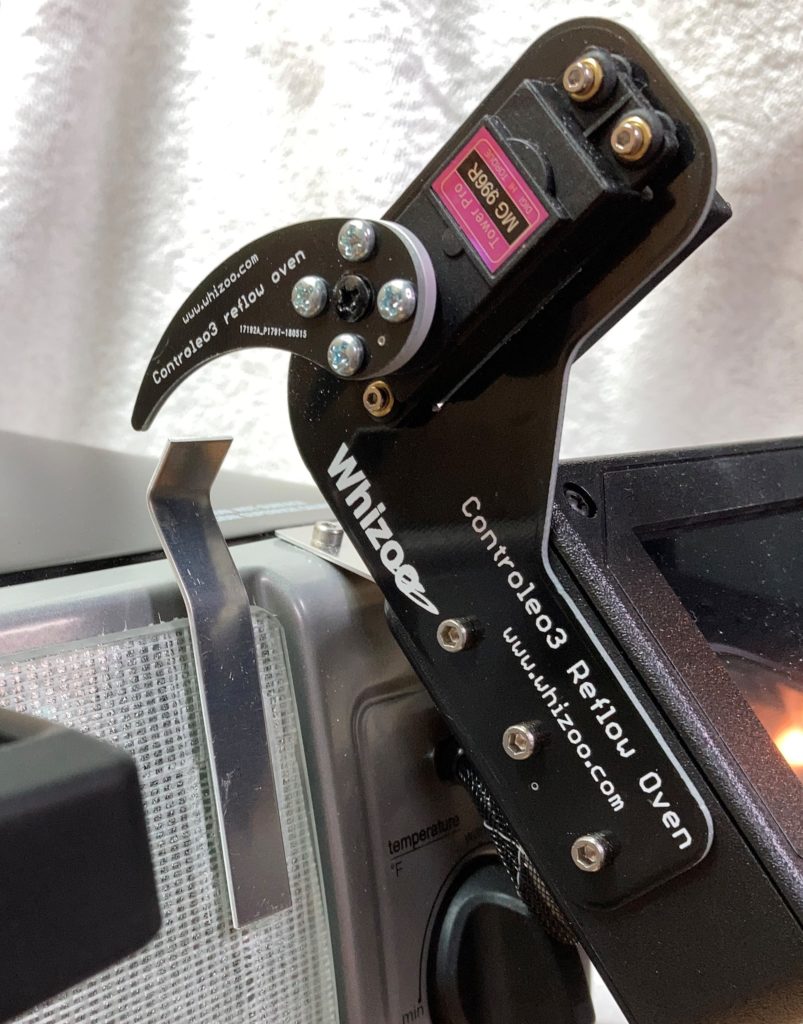
13 April 2021: Unlike the oven in the build instructions, the handle on my oven doesn’t extend the full width of the door.
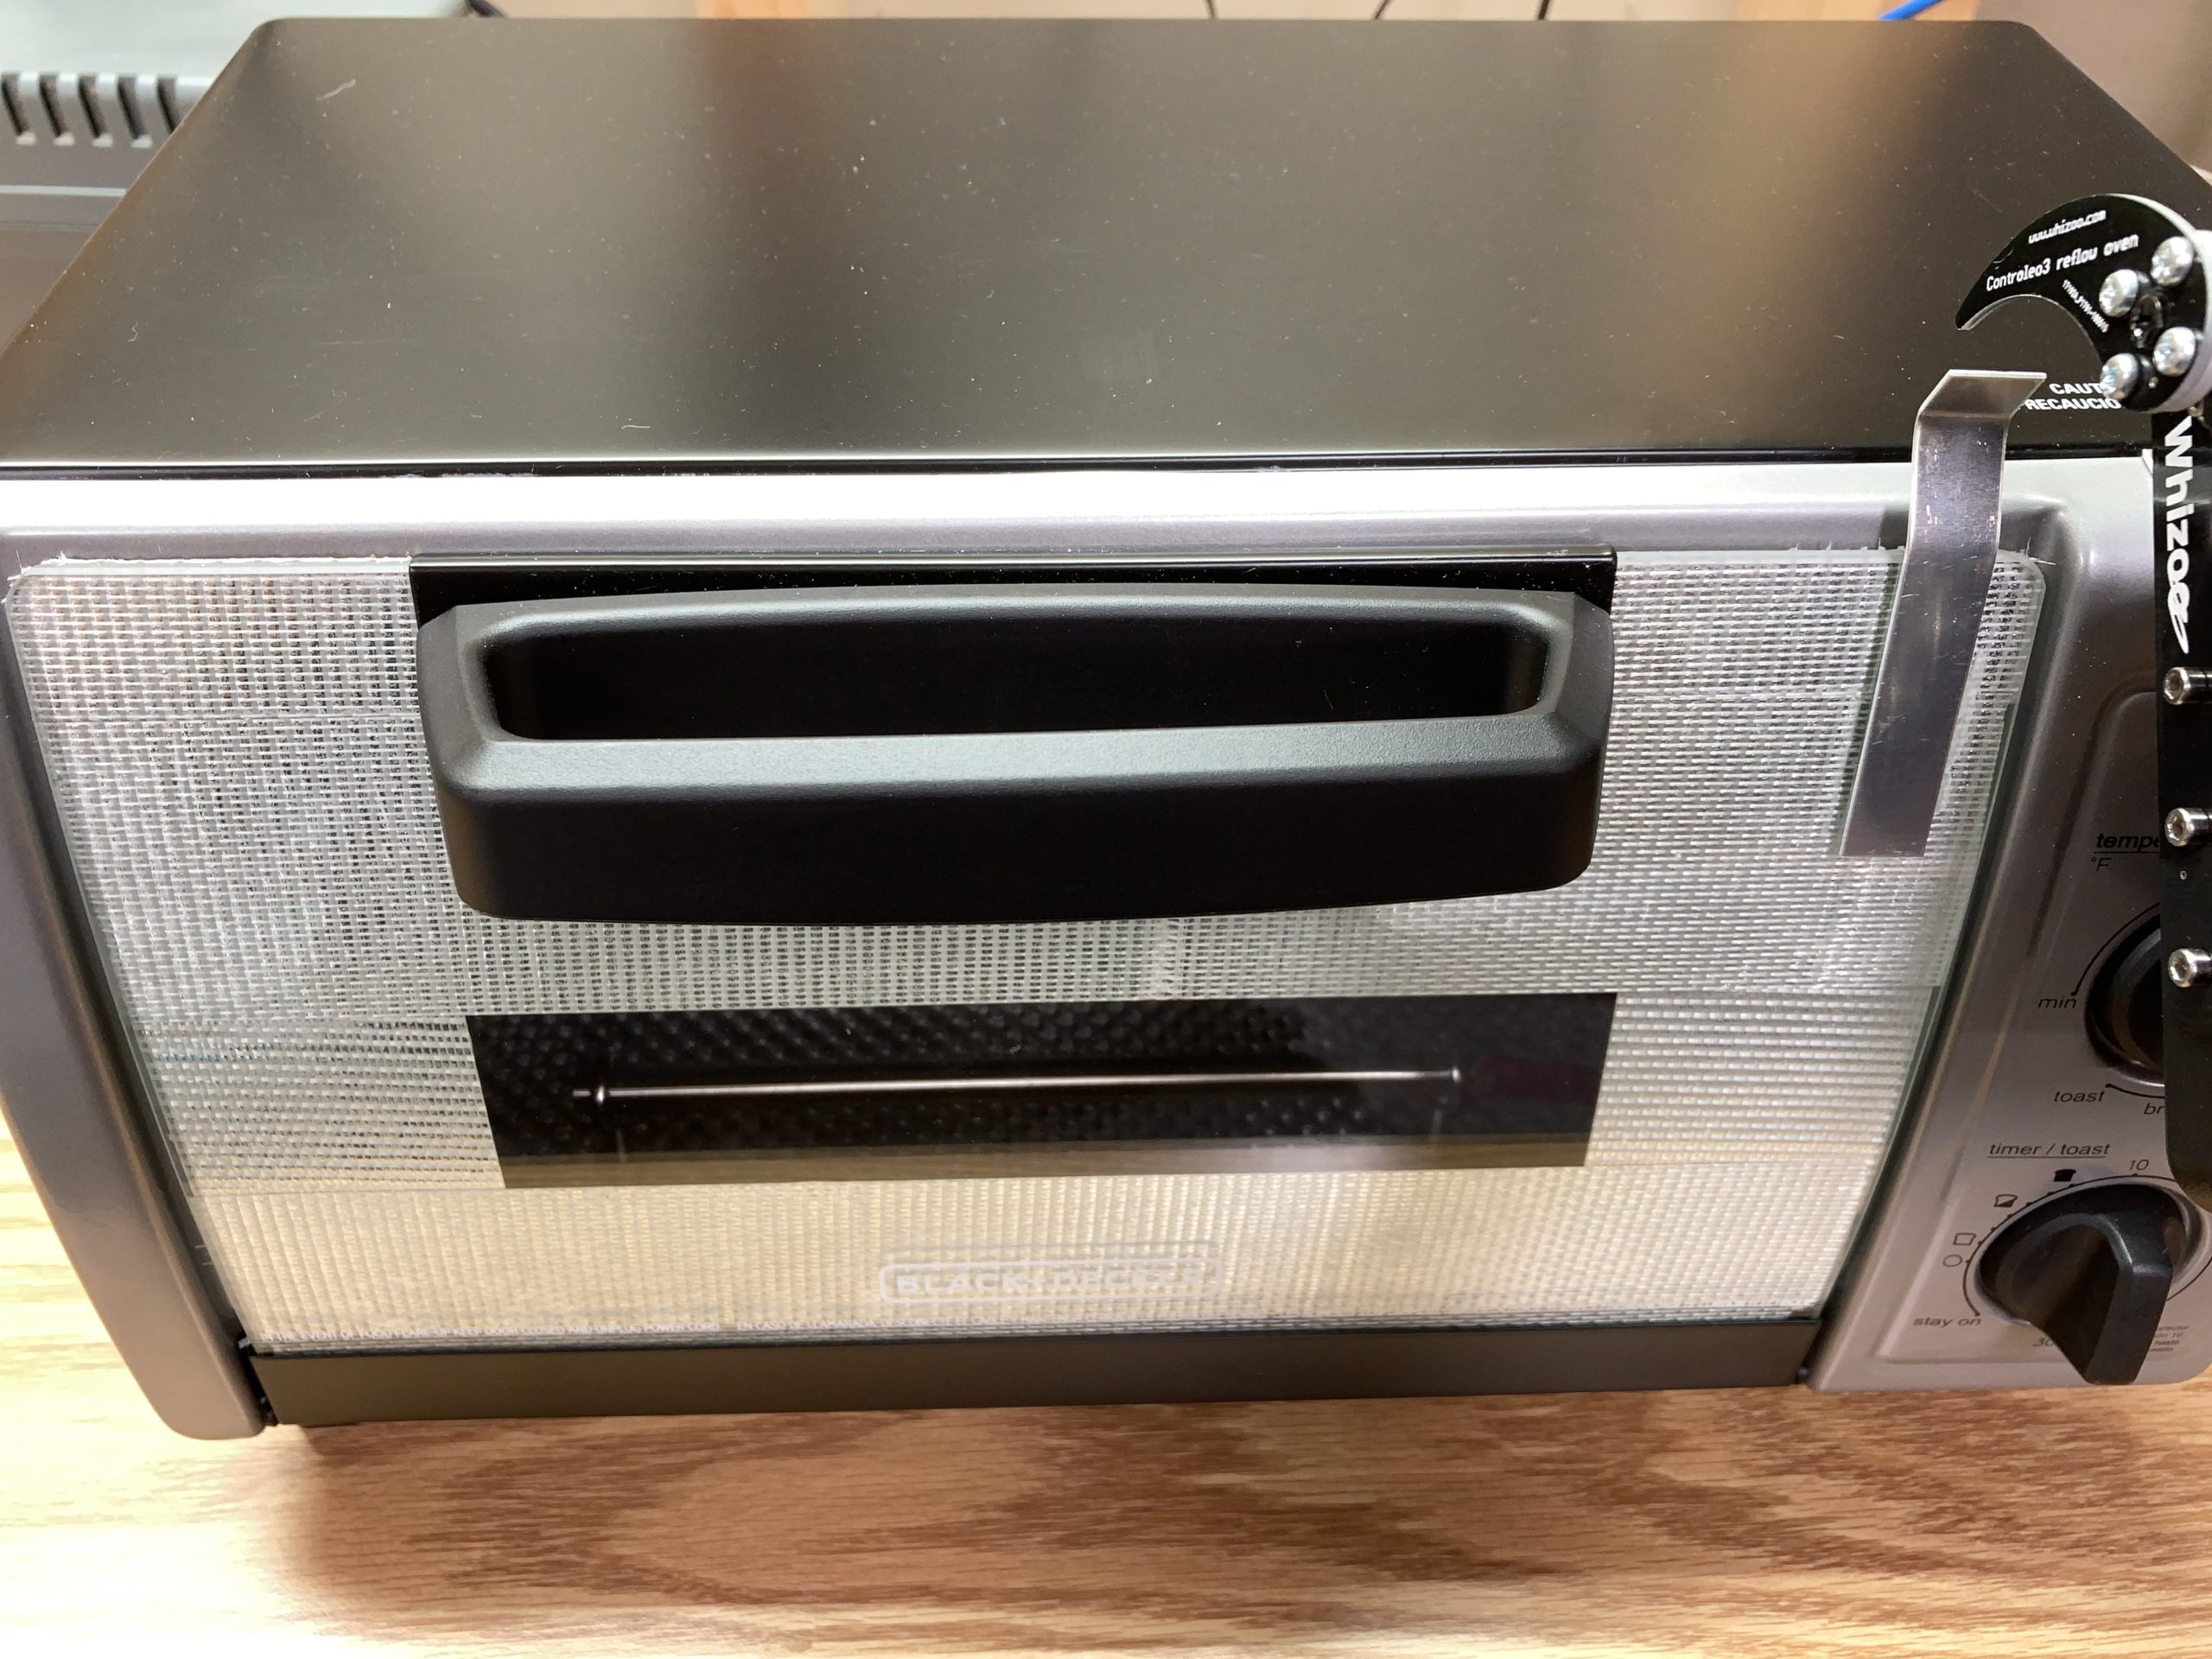
Instead of mounting the door open tab with screws, I glued it to the glass door with high-temperature epoxy. I used Permatex 84102 High Heat Epoxy, advertised as good to 500F. It seems solid as a rock; we’ll see how it holds up.
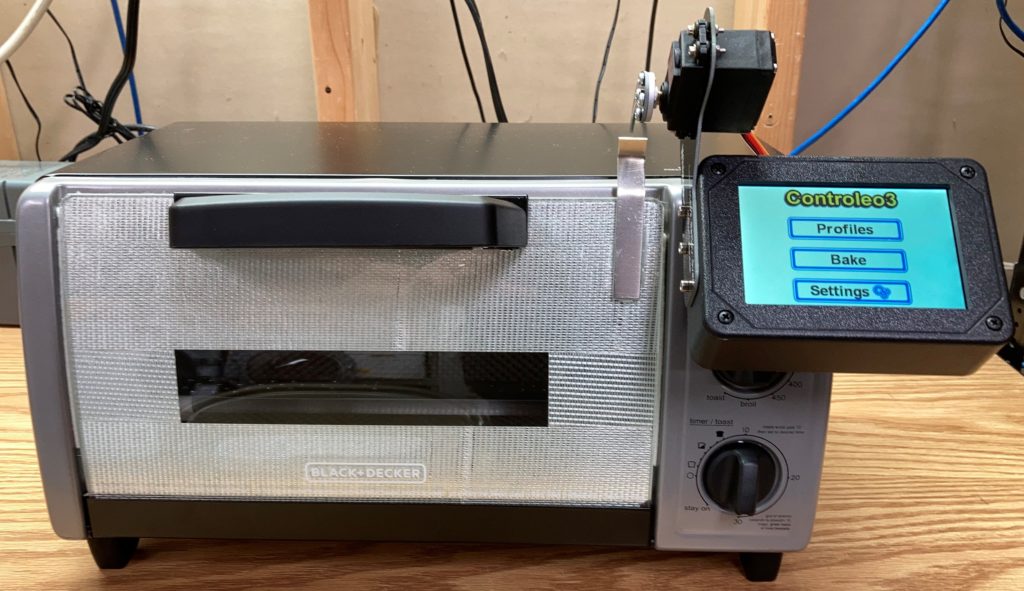
14 April 2021: FINISHED! Now to install the dedicated power outlet and ventilation fan in my workshop. Then calibration and testing.
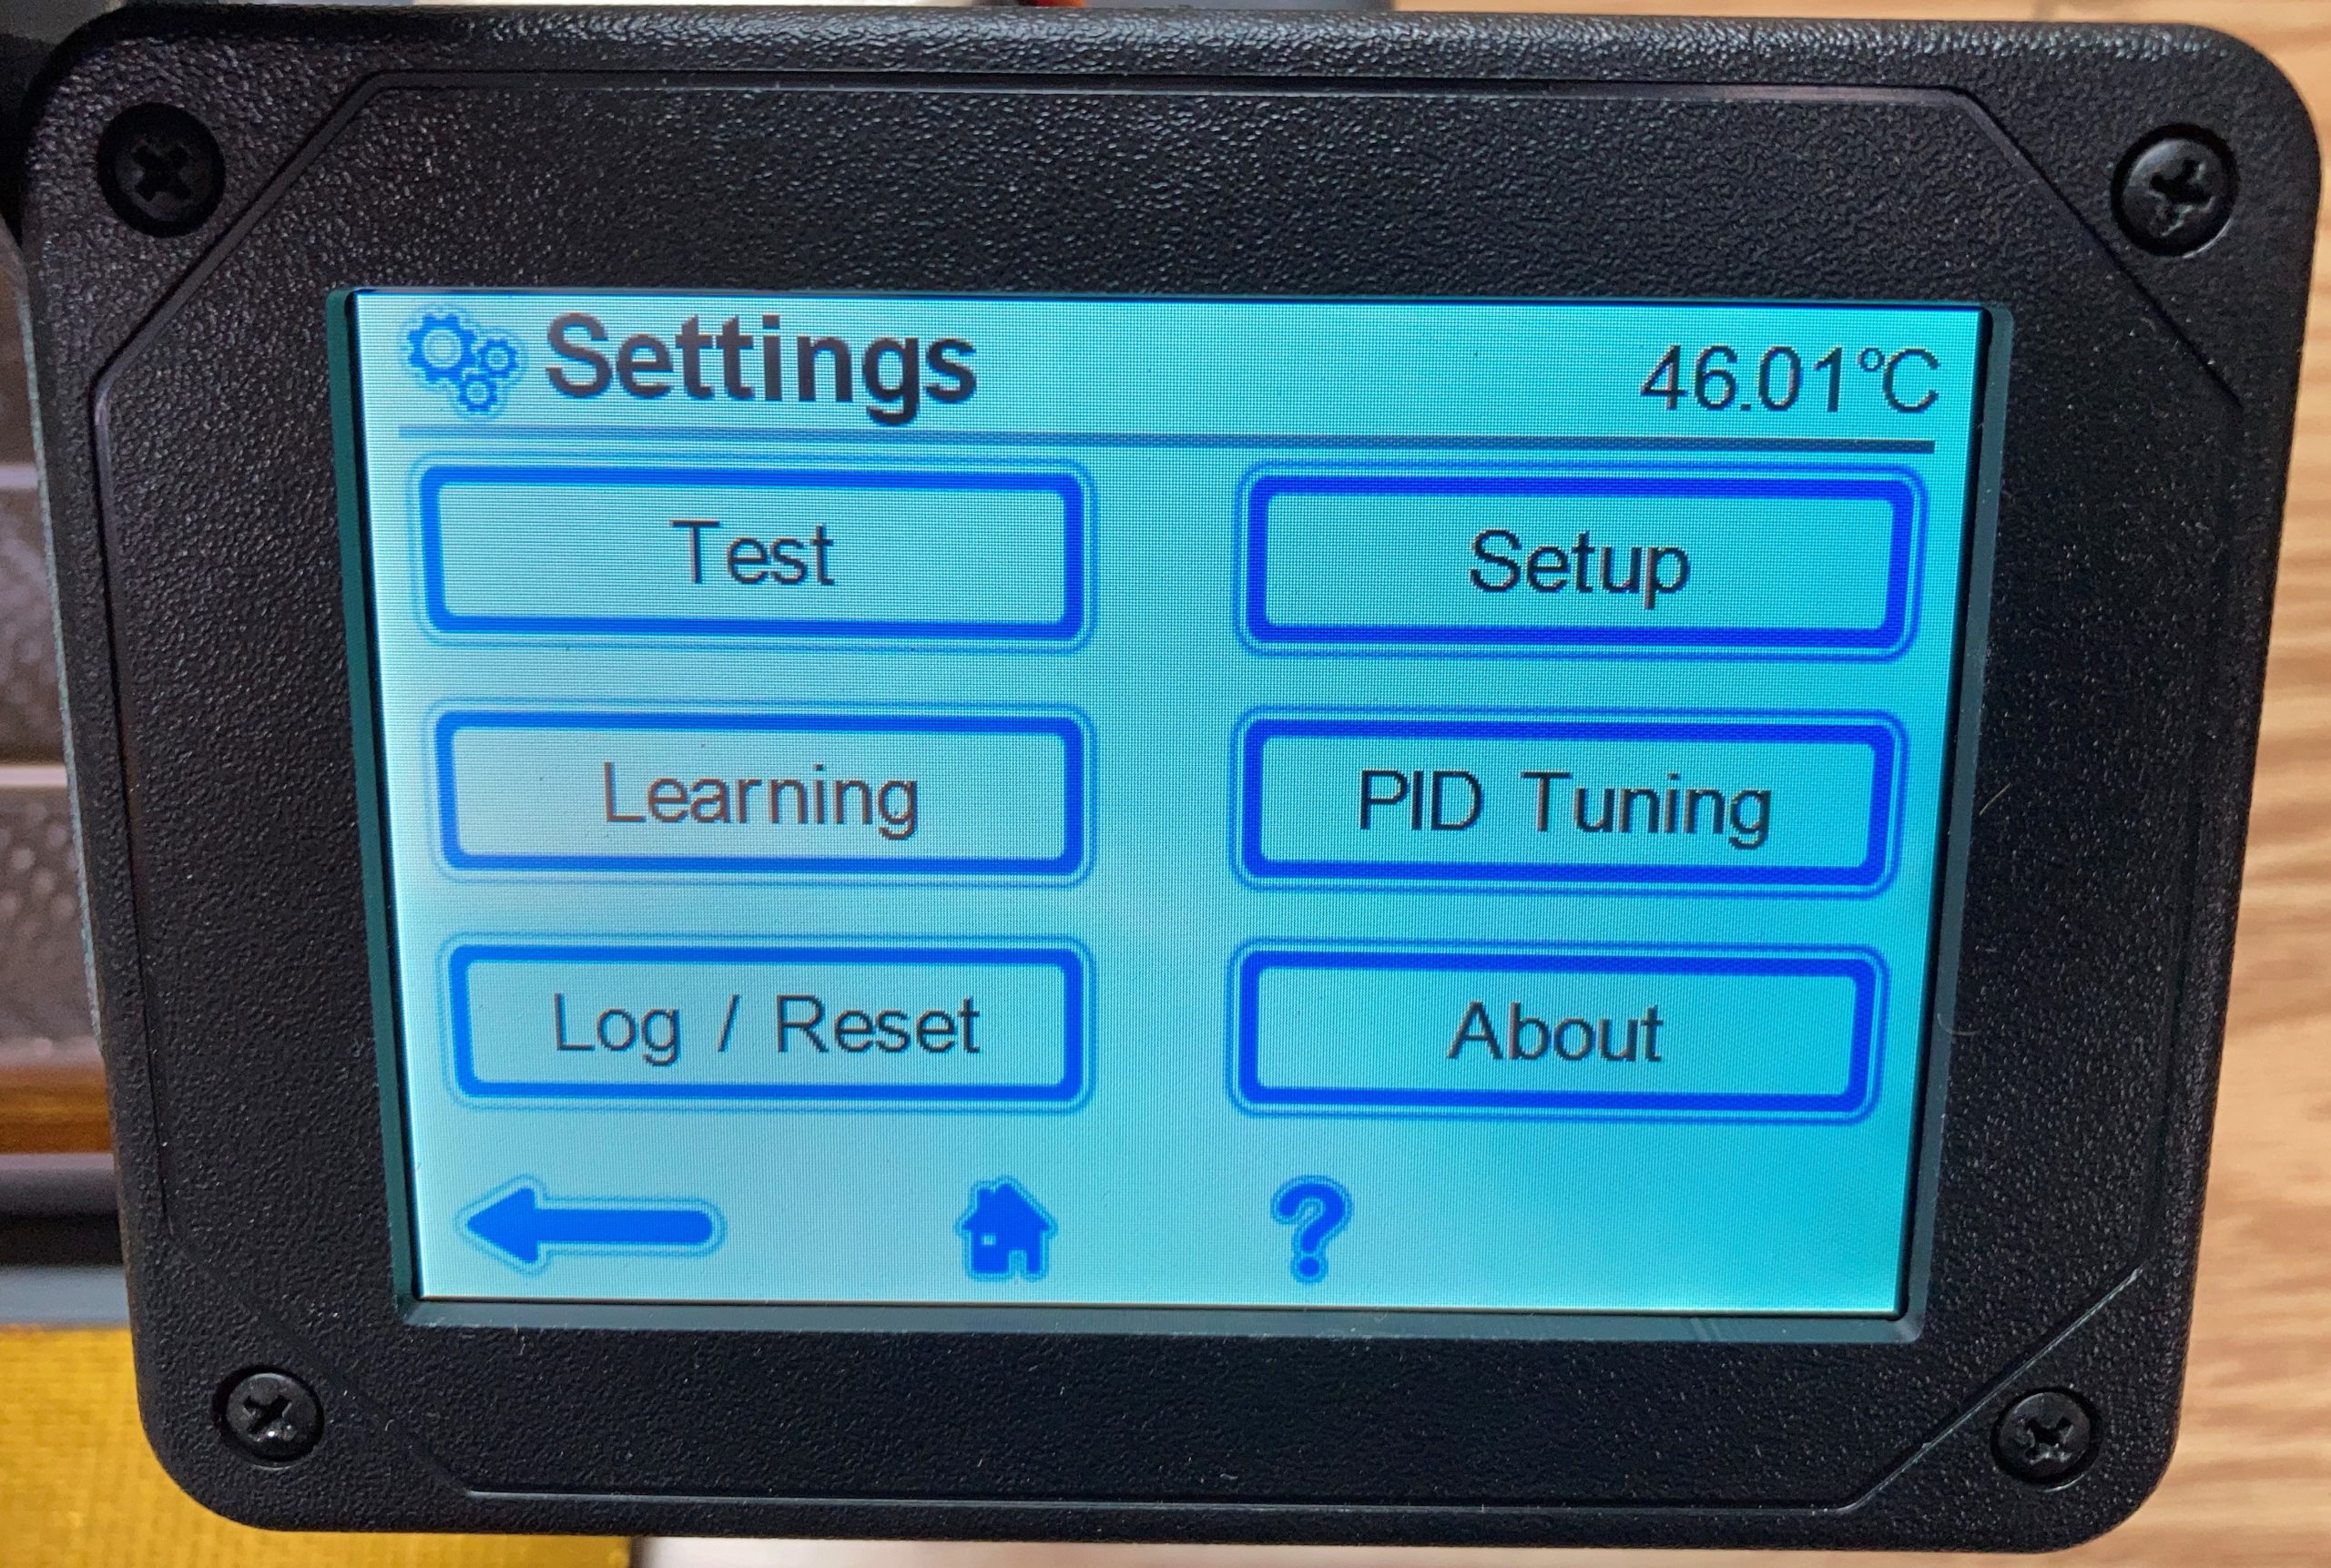
After running the calibration routine – which gave all smiley faces and a score of 85% – I tested the oven with a SMD hand soldering practice kit. I applied solder paste (Chip Quik SMDLTLFP low-temperature lead-free) using a syringe and small needle. Then I tried populating the board with my Hakko vacuum pen, but the tip wasn’t small enough to pick up even the 1206 components. A small tweezers worked fine, though.
Then crossed fingers and a temperature profile based on the lead-free example from the Controleo3 Github repo.
Wow! Most of the components lined up perfectly. There were about a half-dozen chips that didn’t align properly, probably caused by my not getting both ends of the chip firmly in contact with the solder paste. A quick touch-up with solder wick and a fine tip, and…
I learned a few things applying the paste by hand. First, I used way too much paste. Second, in spite of that and not stressing over perfect alignment, everything worked fine. I never expected success on the first reflow! With a custom stencil from the PCB prototyping house it should be close to perfect.
Some tinkering with the temperature profile is required to customize it to my oven, but this is clearly going to be a great success. That’s good, since I already committed to give a presentation to our ham radio club. (As Sean Connery says in “The Hunt for Red October,” “When he reached the New World, Cortez burned his ships. As a result his men were well motivated.” I figured I needed a deadline to keep me focused.)
I couldn’t be happier with the final result. I have no reservations whatsoever recommending the Whizoo Controleo3 conversion kit to anyone with a serious interest in surface-mount construction.
Now, to order the custom PCB for that STM32 controller I designed and components from my favorite supplier. That’s the ultimate goal: clean-sheet surface-mount microcontroller-based projects that look professional.